뷰 라우터의 기본 사용법에 대해 익혀봤으니 좀 더 상세하게 들어가 보자.
우선 참고 사이트를 다른 곳으로 변경하였다. vue3 router를 사용한 tutorial 사이트이다.
https://www.vuemastery.com/blog/vue-router-a-tutorial-for-vue-3/
Vue Router: A Tutorial for Vue 3 | Vue Mastery
If you’re looking to learn the new Vue Router that uses Vue 3, you’re in the right place. Many things are the same in Vue 3 using Vue Router, but there are a few small differences from Vue 2.
www.vuemastery.com
우선 이전 게시글에서 만들었던 router.js에 대해서 먼저 보고 넘어가자.
▷ router.js
import { createWebHistory, createRouter } from "vue-router";
import ErrorPage from "@/components/ErrorPage"
import Home from "@/components/Home"
import About from "@/components/About"
import Names from "@/components/Names"
import User from "@/components/User"
import User2 from "@/components/User2"
const routes = [
{ path : "/", name : "Home", component : Home },
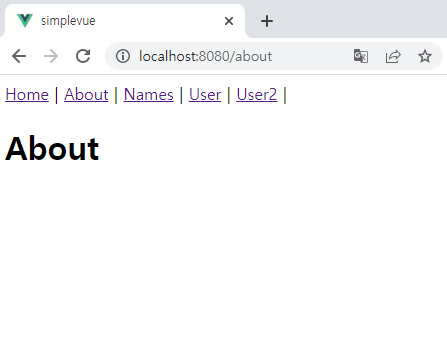
{ path : "/about", name : "About", component : About },
{ path : "/names", name : "Names", component : Names },
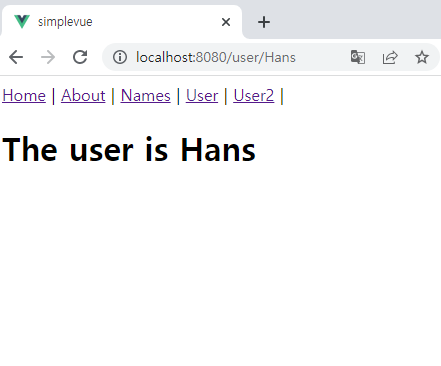
{ path : "/user/:name", name : "User", component : User },
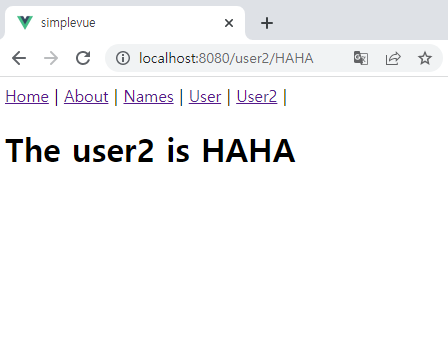
{ path : "/user2/:name", name : "User2", component : User2, props: true },
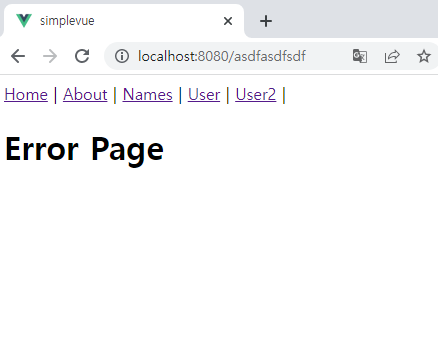
{ path : "/:catchAll(.*)", name : "ErrorPage", component : ErrorPage},
]
const router = createRouter({
history : createWebHistory(),
routes : routes
});
export default router;router.js의 역할을 각 path와 component를 연결시켜주는 것에 있다.
(당연히 위와 같은 세팅을 하려면 각각의 vue파일을 우선 만들어 주도록 하자.)
여기서 route 옵션을 살펴보면
- path : route를 찾을 수 있는 url path를 의미한다.
- name : route로 연결할 때 사용하는 이름(선택이긴 하나 넣어주면 괜찮을 듯 하다.)
- component : route에서 불러와질 컴포넌트를 의미한다.
- props : 이것 역시 선택 옵션인데 path부분의 :name을 props로 전달해주는 옵션이다.
그리고 각 path별로 서로 다르게 선언을 해두었는데,
특이한 게 두 가지가 보인다 [:name]과 [/:catchAll(.*)]이다.
:name은 말 그대로 user 다음에 오는 url을 name이라는 파라미터로 받아서 사용하겠다는 의미이다.
예를 들어 /name/test라는 url이 넘어오면 name에는 test가 삽입되어 파라미터로 사용이 가능하다.
:catchAll(.*)은 위에서 선언한 path를 제외한 나머지 path를 전부 ErrorPage component로 보내주도록 하는 역할이다.
이제 저 router.js와 하나씩 연결시켜보자.
▷ App.vue
<template>
  <div id="app">
    <nav>
      <router-link to="/">Home</router-link> |
      <router-link to="/about">About</router-link> |
      <router-link :to="{name : 'Names'}">Names</router-link> |
      <router-link to="/user">User</router-link> |
      <router-link to="/user2/HAHA">User2</router-link> |
    </nav>
    <router-view />
  </div>
</template>

<script>
export default {}
</script>

<style>
</style>
여기서 <router-link>가 사용되었는데 이는 라우터 지원 앱에서 사용자 내비게이션을 가능하게 하는 컴포넌트이다.
기본적으로 <a> 태그로 만들어지며 tag 속성을 통해 다른 tag로 변경이 가능하다. (예를 들어 tag='div'로 하면 div로 생성된다.)
그리고 to 속성이 존재하는데 이는 위에서 router.js에서 선언한 path와 연결시켜주기 위함이다.
그런데 특이하게 :to라고 선언되어있는 부분이 있는데 여기서 router.js에서 선언해준 name을 사용할 수 있다.
path가 아니라 name을 통해 매칭 시켜주는 것이다.
마지막으로 결과를 확인할 건데,
User 컴포넌트와 User2 컴포넌트만 확인하고 결과로 넘어가 보도록 하자.
▷ User.vue
<template>
  <h1>The user is {{ $route.params.name }}</h1>
</template>

<script>
export default {}
</script>

<style>
</style>
▷ User2.vue
<template>
  <h1>The user2 is {{ name }}</h1>
</template>

<script>
export default {
  props : ["name"]
}
</script>

<style>
</style>
저 두 개만 확인한 이유는 url을 파라미터로 받아서 사용하도록 router.js에 선언되어있기 때문이다.
이제 결과를 확인하자.
▶ 결과


일단 이 정도면 router에 대해 어느 정도 기본은 익힌 것 같다.


댓글